Alright, let’s get into it. You’re staring at that beautiful but terrifyingly delicate thing you need to pack—your great-aunt’s vase, your vinyl collection, your kid’s weirdly fragile art project. You’ve got the bubble wrap. You’re ready to go.
But hold on.
If you just start wrapping, you’re gonna end up with a box full of “sorry pieces.” I’ve been there. I once packed a set of coffee mugs with what I thought was an insane amount of bubble wrap. I opened the box later to find… well, let’s just say I drink from a sippy cup now.
Kidding. But it was bad.
The secret isn’t just more wrap. It’s a system. It’s about building a tiny, comfortable fortress where your stuff can’t move. At all. Not even a millimeter.
First, let’s talk boxes
Forget the free one from the grocery store. That box is tired. It’s been through it. It’s seen things. It has weak spots you can’t even see. That box is a traitor waiting to collapse and take your treasures with it.
You need a strong, new box. And smaller than you think. A huge box with one little thing in it is a disaster. Everything shifts, slides, and gains momentum before a crash. A small, sturdy box keeps everything tight and manageable. Feel the edge of the box. If it feels thick and solid, like it can take a punch, you’re on the right track.
Now, Let’s Talk Wrapping: The Hands-On Part
Yeah, we’ve got bubble wrap. But first, give your item a hug with some plain white packing paper. Never use a newspaper. The ink will rub off on your white plates over time, and you’ll be left with ghostly headlines on your wedding china. True story.
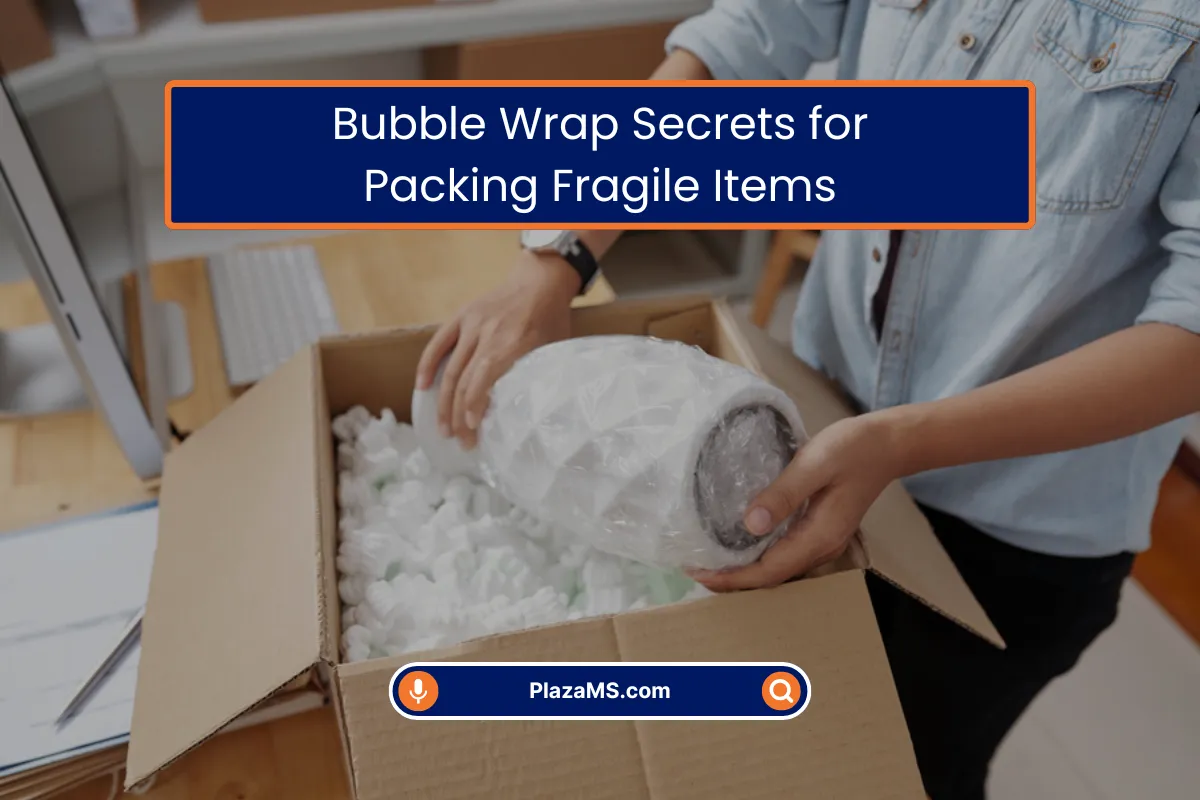
Then you bubble wrap. And here’s a tip an old mover told me that blew my mind: put the bubbles facing IN. The bubbles are for your item, not for the outside of the box. Wrap it like you’re tucking it into bed. Snug.
Here’s the part everyone skips: killing the empty space:
You put your wrapped item in the box. There’s a gap. You think, “Eh, good enough.”
NO. That gap is the killer. That’s where the shaking happens.
You have to become a box stuffer. Crumple up that packing paper and jam it into every single void. Every side, every corner, every little space. You should be able to pick up the box, give it a gentle shake, and hear… nothing. Absolute silence. That’s the sound of success.
Some quick hits for specific stuff
- Plates: Stand them on their SIDE in the box. Never flat. They are way stronger that way. Stick cardboard between them like you’re filing them.
- Glasses: After the paper and bubble wrap, I use clean socks for the stems. It looks ridiculous but it works perfectly.
- Pictures & Mirrors: Bubble wrap is not enough. You need those special cardboard corner guards. They’re cheap insurance.
Finally, tape it up good and label it like a maniac.
Write “FRAGILE” on every side. Use a red marker. Draw arrows. Write “MY GRANDMA’S GOOD STUFF – PLEASE DO NOT CRUSH” if you have to. Be obnoxious about it.
You’ve now done everything humanly possible to protect it inside the box.
But let’s be real. That box then sits… somewhere. A garage that gets hot and cold? A damp basement? That’s where the other half of the worry comes in.
This is where we can help. Once you’ve built that perfect little fortress, you want it to sit in a place that’s as stable and secure as the box itself. Our storage units are clean, dry, and climate-controlled because we know it’s not just “stuff” in there. It’s your grandma’s good china. It deserves a peaceful, steady place to rest until you need it again.
You did the hard work of packing it right. We’re just here to be the safest room in the house for it.










0 Comments